📍 Navigate to: Sidebar → Patients → select patient → Pre-Chart section · Full UI Guide
This guide explains how to create a Pre-Chart for a patient and how the physician can then use it during the consultation.
👩⚕️ Pre-Charting Stage:
📁 Step 1: Open the patient file
📋 Step 2: Add Your Pre-Chart(s)
You can add as many Pre-Charts as needed — mix and match both options below. Everything will be combined when the note is generated.
📄 Option A: Upload a PDF
Use this for external records, lab results, or prior notes.
- Attach the PDF file inside the patient folder.
- Select the appropriate Extraction Template.
- Click generate — DeepCura will extract the information automatically.
More information here: Summarize any PDF, intake forms & hospital discharges
➕ Option B: Type, Paste, or Dictate Notes
Use this to add any additional notes, vitals, or observations.
- Click the "+" button to open a new Pre-Chart.
- Type or paste your notes directly, or click the microphone icon to dictate.
💡 No need to worry about formatting or structure. When the final note is generated, DeepCura will automatically organize everything into your chosen template (SOAP, narrative, etc.).
💾 Step 3: Auto-Save
No need to click anything — all Pre-Charts auto-save in real time.
✅ Done! The Pre-Chart(s) are ready for the physician.
👨⚕️ For the physician — When the Patient Arrives:
🧠 Step 1: Add Pre-Charts as AI Context
Before meeting the patient, open the AI Context Manager and for each Pre-Chart you want to include:
- Click the checkmark to include it.
This tells DeepCura to combine all pre-charted information with the live consultation recording.
🎙️ Step 2: Start Recording
Click "Start Recording" and begin your conversation with the patient.
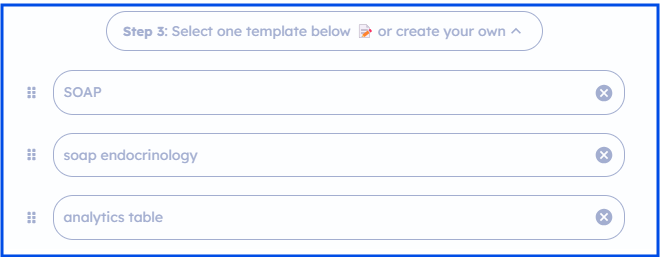
🛑 Step 3: Complete Session & Select the Template
⚙️ Step 4: Let It Generate
DeepCura will combine your Pre-Charts and the recorded consultation, then generate the complete clinical note automatically.
✅ Done! Your note is complete, including all pre-charted information.
Related to